Setting up your Pusher Account
Follow this guide to set up your Pusher Account in the right way.
Pusher Channels provides realtime communication between servers, apps and devices. It is used for notifications, chat, gaming, web-page updates, IoT, and many other systems requiring real-time communication.
Fast Track CRM uses Pusher to support On Site Notifications and Rich Inbox. Follow this guide to set up your Pusher Account in the right way.
Once you have created your account, and you're logged in, follow below steps:
Create your Channel
Step 1
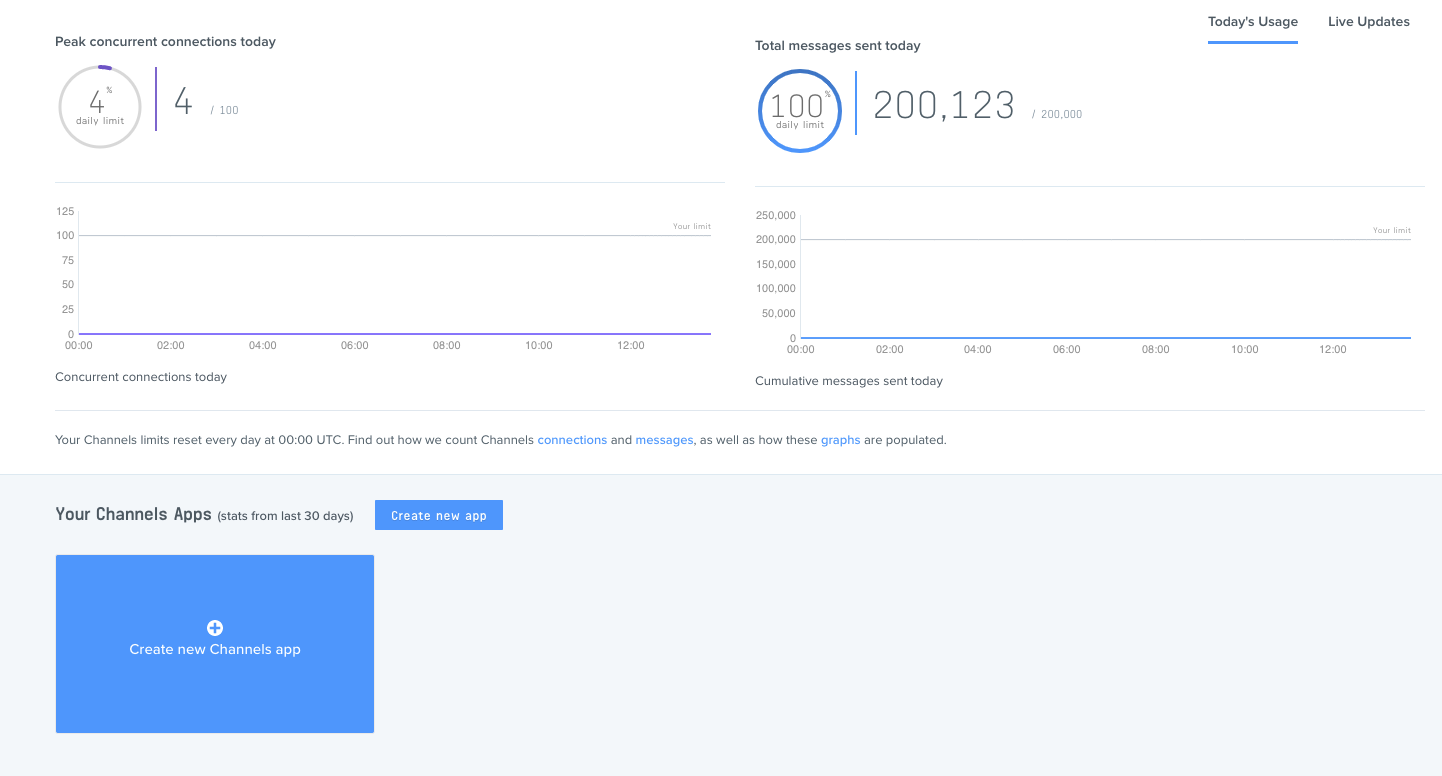
Click the blue button saying Create new Channels app.


Step 2
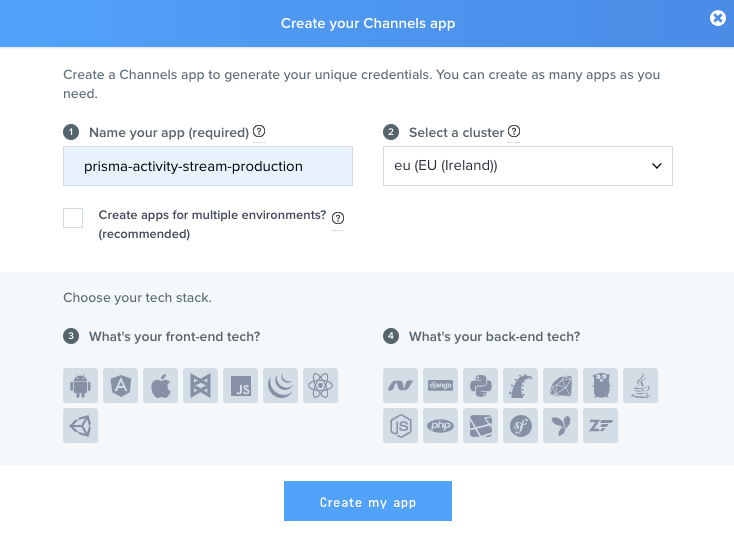
Give the channel an appropriate name. A suggestion would be that you create separate channels for staging and production and then you name them after that, like ft-crm-staging.
When selecting the cluster select a region that is as close as possible to your end users.


Step 3
You will need to pass the keys to your Account Manager at Fast Track. The keys can be located in your channel in the tab called App Keys.


Paid pusher account
Some of our customers need to have paid pusher accounts, the reason why you would need that primarily depends on two things:
- Concurrent connections: How many users you simultaneously will have logged in at the same time
- Messages per day: How many On Site Notifications and / or Rich Inbox Messages you plan to send to your users per day.
You can read more about the different plans (for channels) and their prices here: https://pusher.com/channels/pricing
Once you have decided your plan, you login to your pusher account and go to https://dashboard.pusher.com/plans and select your desired plan. Your pusher credentials will remain the same even though you switch plans.